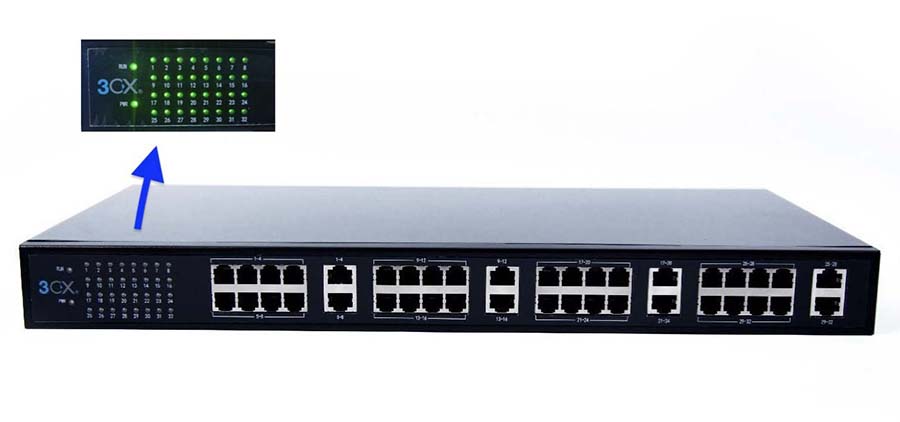
Step 1: Connect LAN Port and Power Adapter

- LAN Ports
- Reset Button
- Power (On/Off Switch), once turned on, a green light will appear in PWR
- AC Adapter Port
Step 2: 3CX Management Console Configuration
2A. Adding FXS
Login to your 3CX Management Console, go to the Advanced Tab –> FXS/DECT
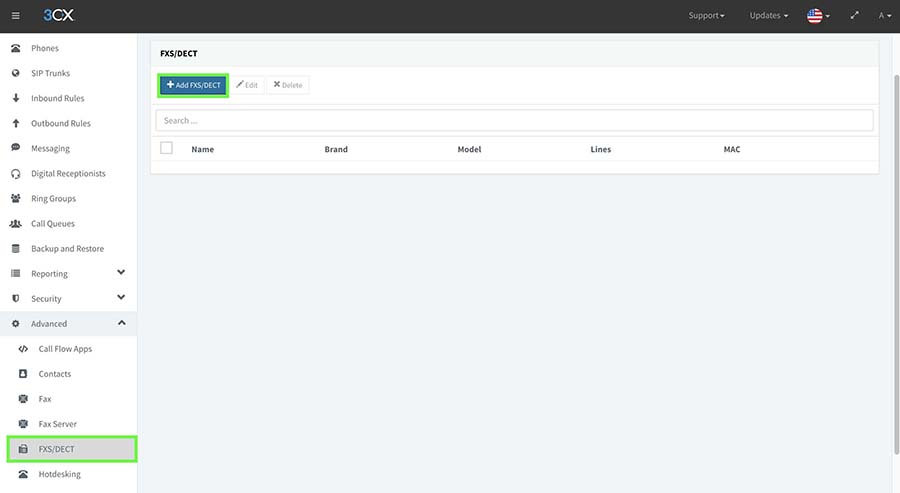
2B. Click on + Add FXS / DECT
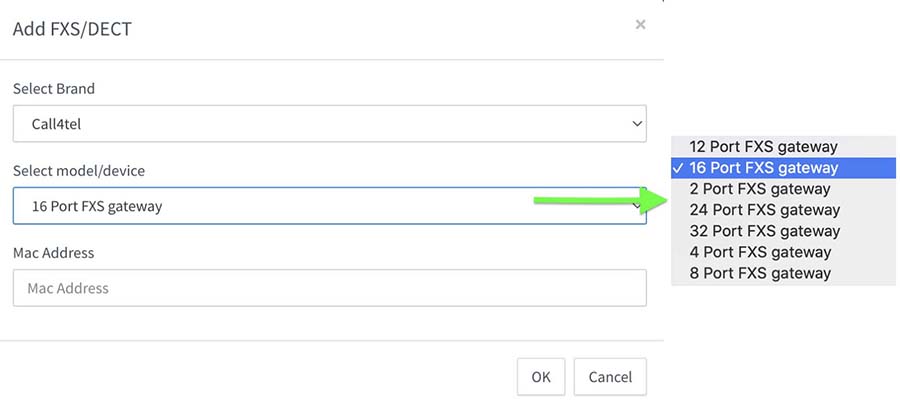
| Select Brand | Call4tel |
| Select Model / Device | The device purchased |
| Mac Address | Can be found on the device |
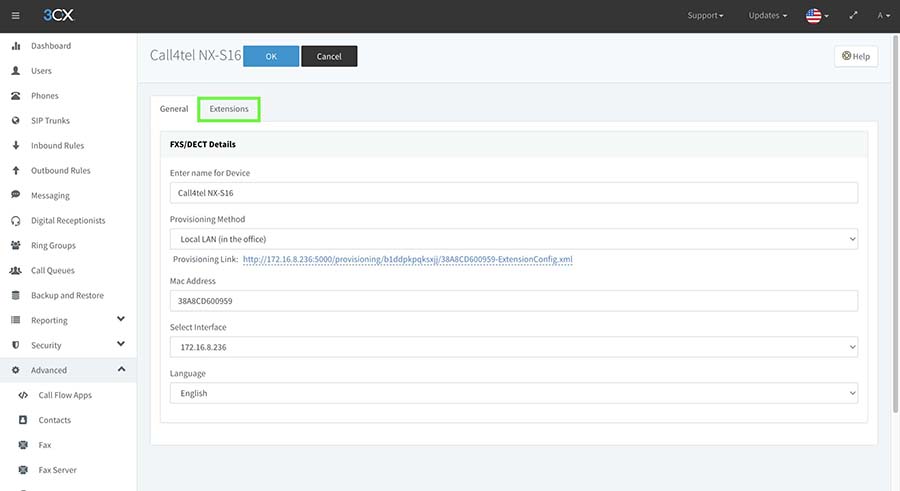
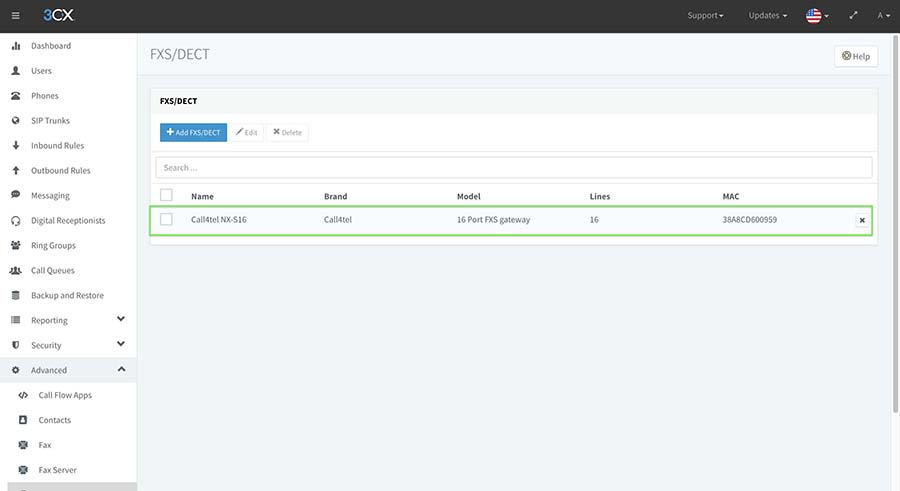
2C. Device Added in 3CX
Once the device is added, click on the “Extension Tabs” to configure the port according to the extension.
2D. Extension Synchronization
Synchronize the extension in the FXS Gateway according to the port.
Note: Ensure that there are no duplicate extension numbers during configuration
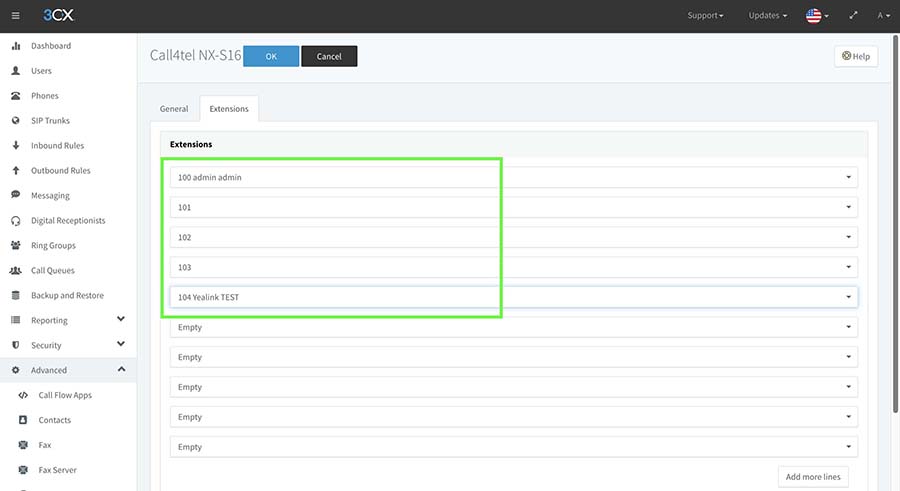
Click on “Ok” to save the setting.
2E. Generating the XML File
Click on the configured device
Click on the Provisioning Link
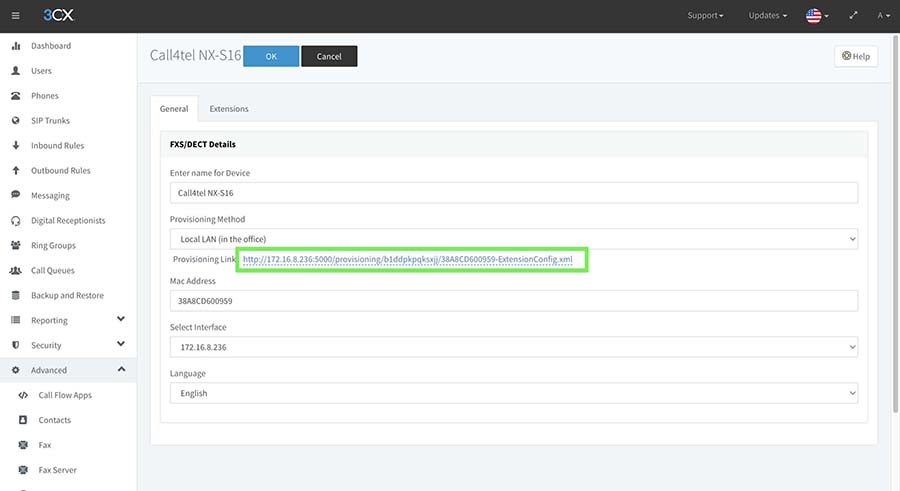
You will now be directed to the XML file as shown below:
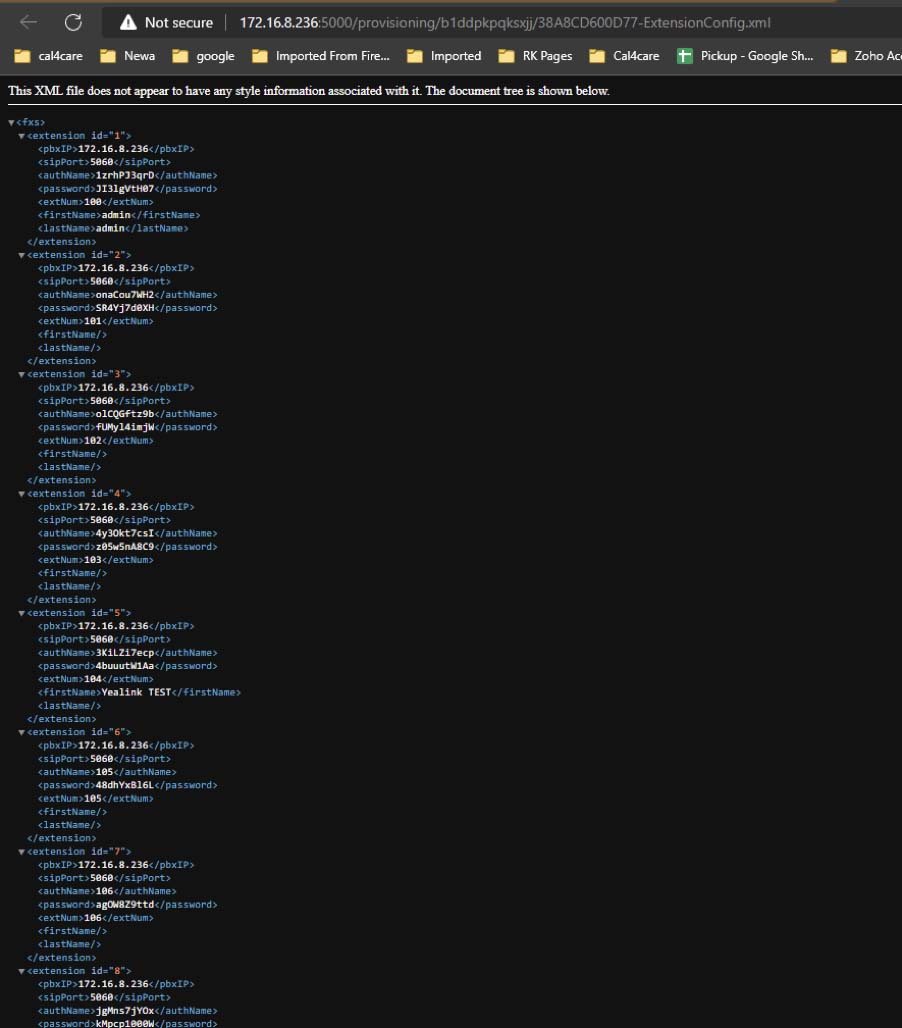
Save (CTRL+S) the XML file to configure the device on the next step.
Step 3: Call4Tel FXS Gateway Configuration
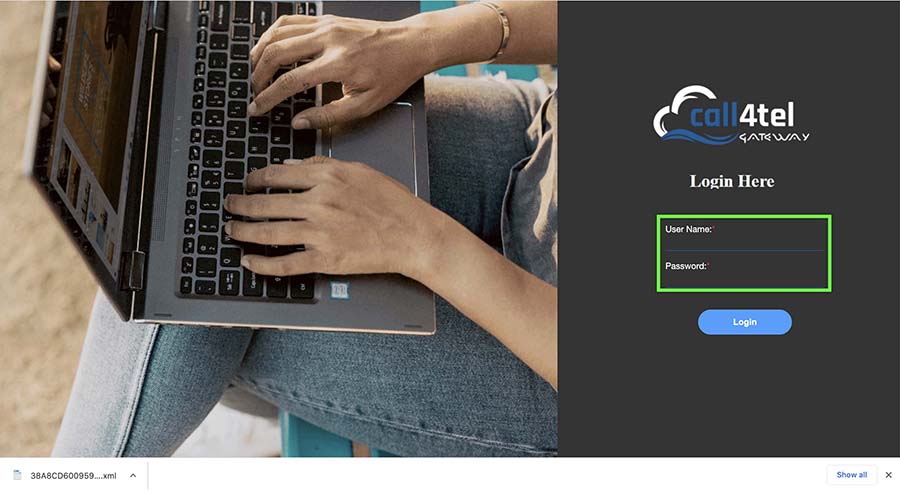
3A. Login to Call4Tel Gateway Device
Login URL: XXX
Username: root
Password: 3cx
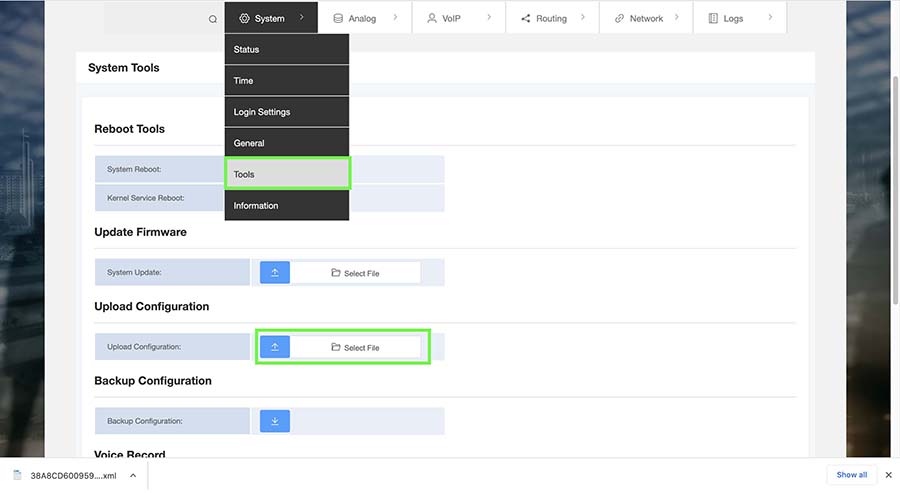
3B. Upload XML File to the device
Go to System Tab –> Tools –> Upload Configuration –> Select File (Shown in step 2E) –> Upload Icon
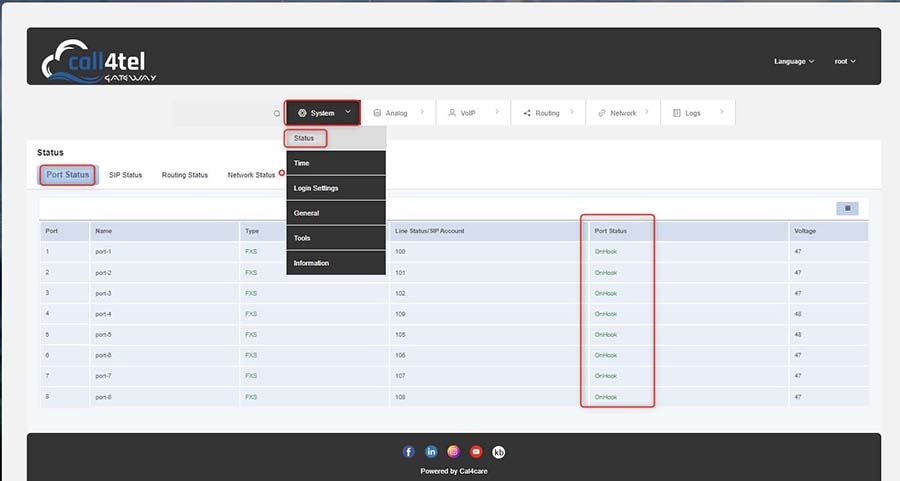
3C. Checking Port Status
You may check the Port Status by going to System Tab –> Status –> Port Status
3D. Checking Extension Register Status
You may check the Port Status by going to System Tab –> Status –> Register Status
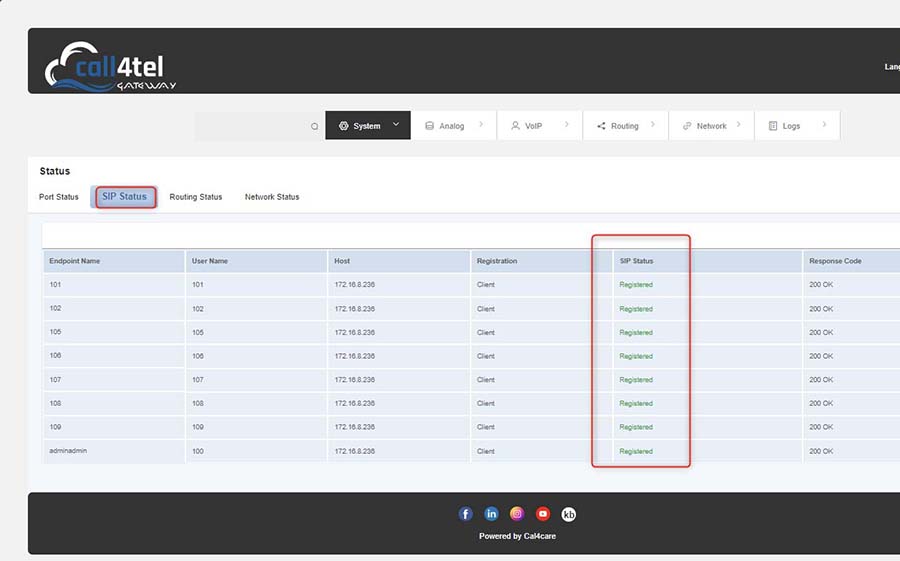
The device port shall be lit in green upon successful configuration.
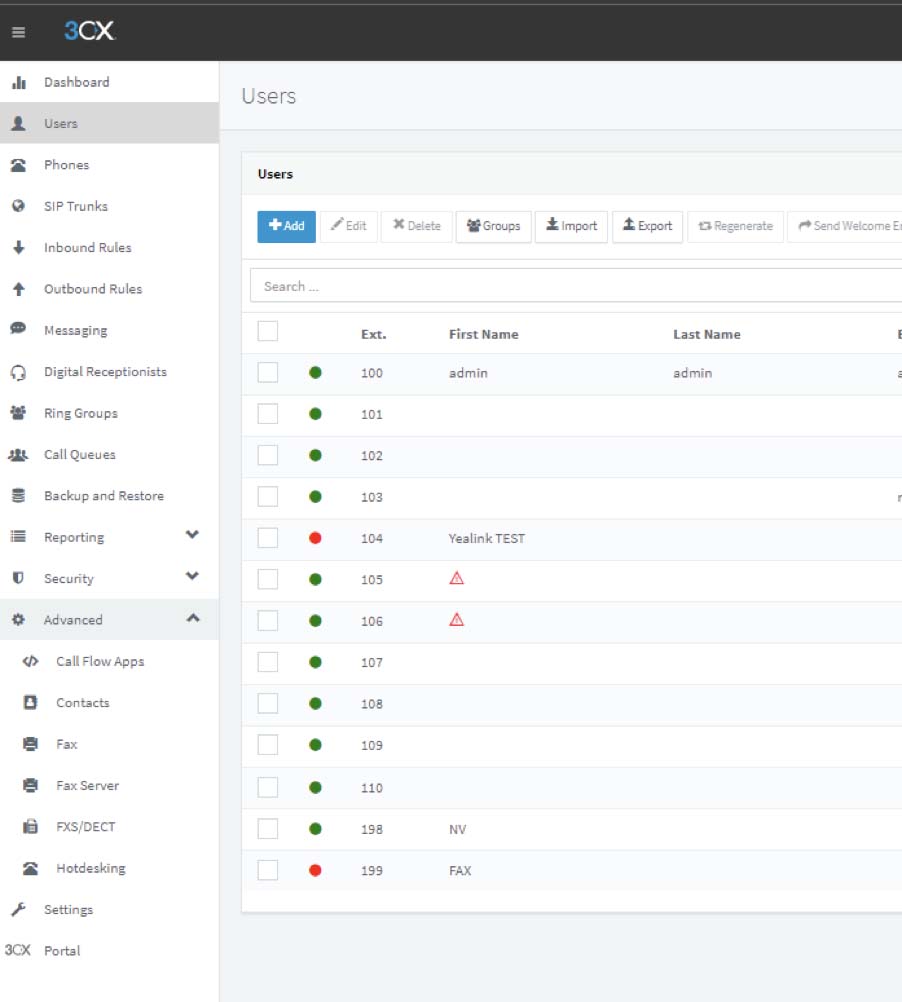
Step 4: 3CX Registration Verification
Login to your 3CX management console navigate to the “Users” tab to check the 3CX registration status